

To start, the size was chosen as decided as 3 feet long (90cm) by 18 inches (45cm) wide and high. All six pieces were cut from 15mm ply. Five would form the box with the slightly bigger lid overlapping on all sides.
A 6mm wide and deep groove was routed in the top of each of the side panels and on all four sides of the top.
The pieces were screwed together. All holes were countersunk with pilot holes in screw positions.
With the four sides together, the groove was extended around each of the corners to make it continuous.
Wool safe was glued to the inside of each panel, including the lid, flush to the edges. Cover material was placed over this, pulled over the sides and bottom edge and stapled to the front side.
At the top, the material was pushed into the groove and stapled at the bottom of it. The corners of the side panels were left unfinished.
The sides were screwed together using the original holes, then the base was pushed up inside and that also screwed on. The top corners were all finished off.
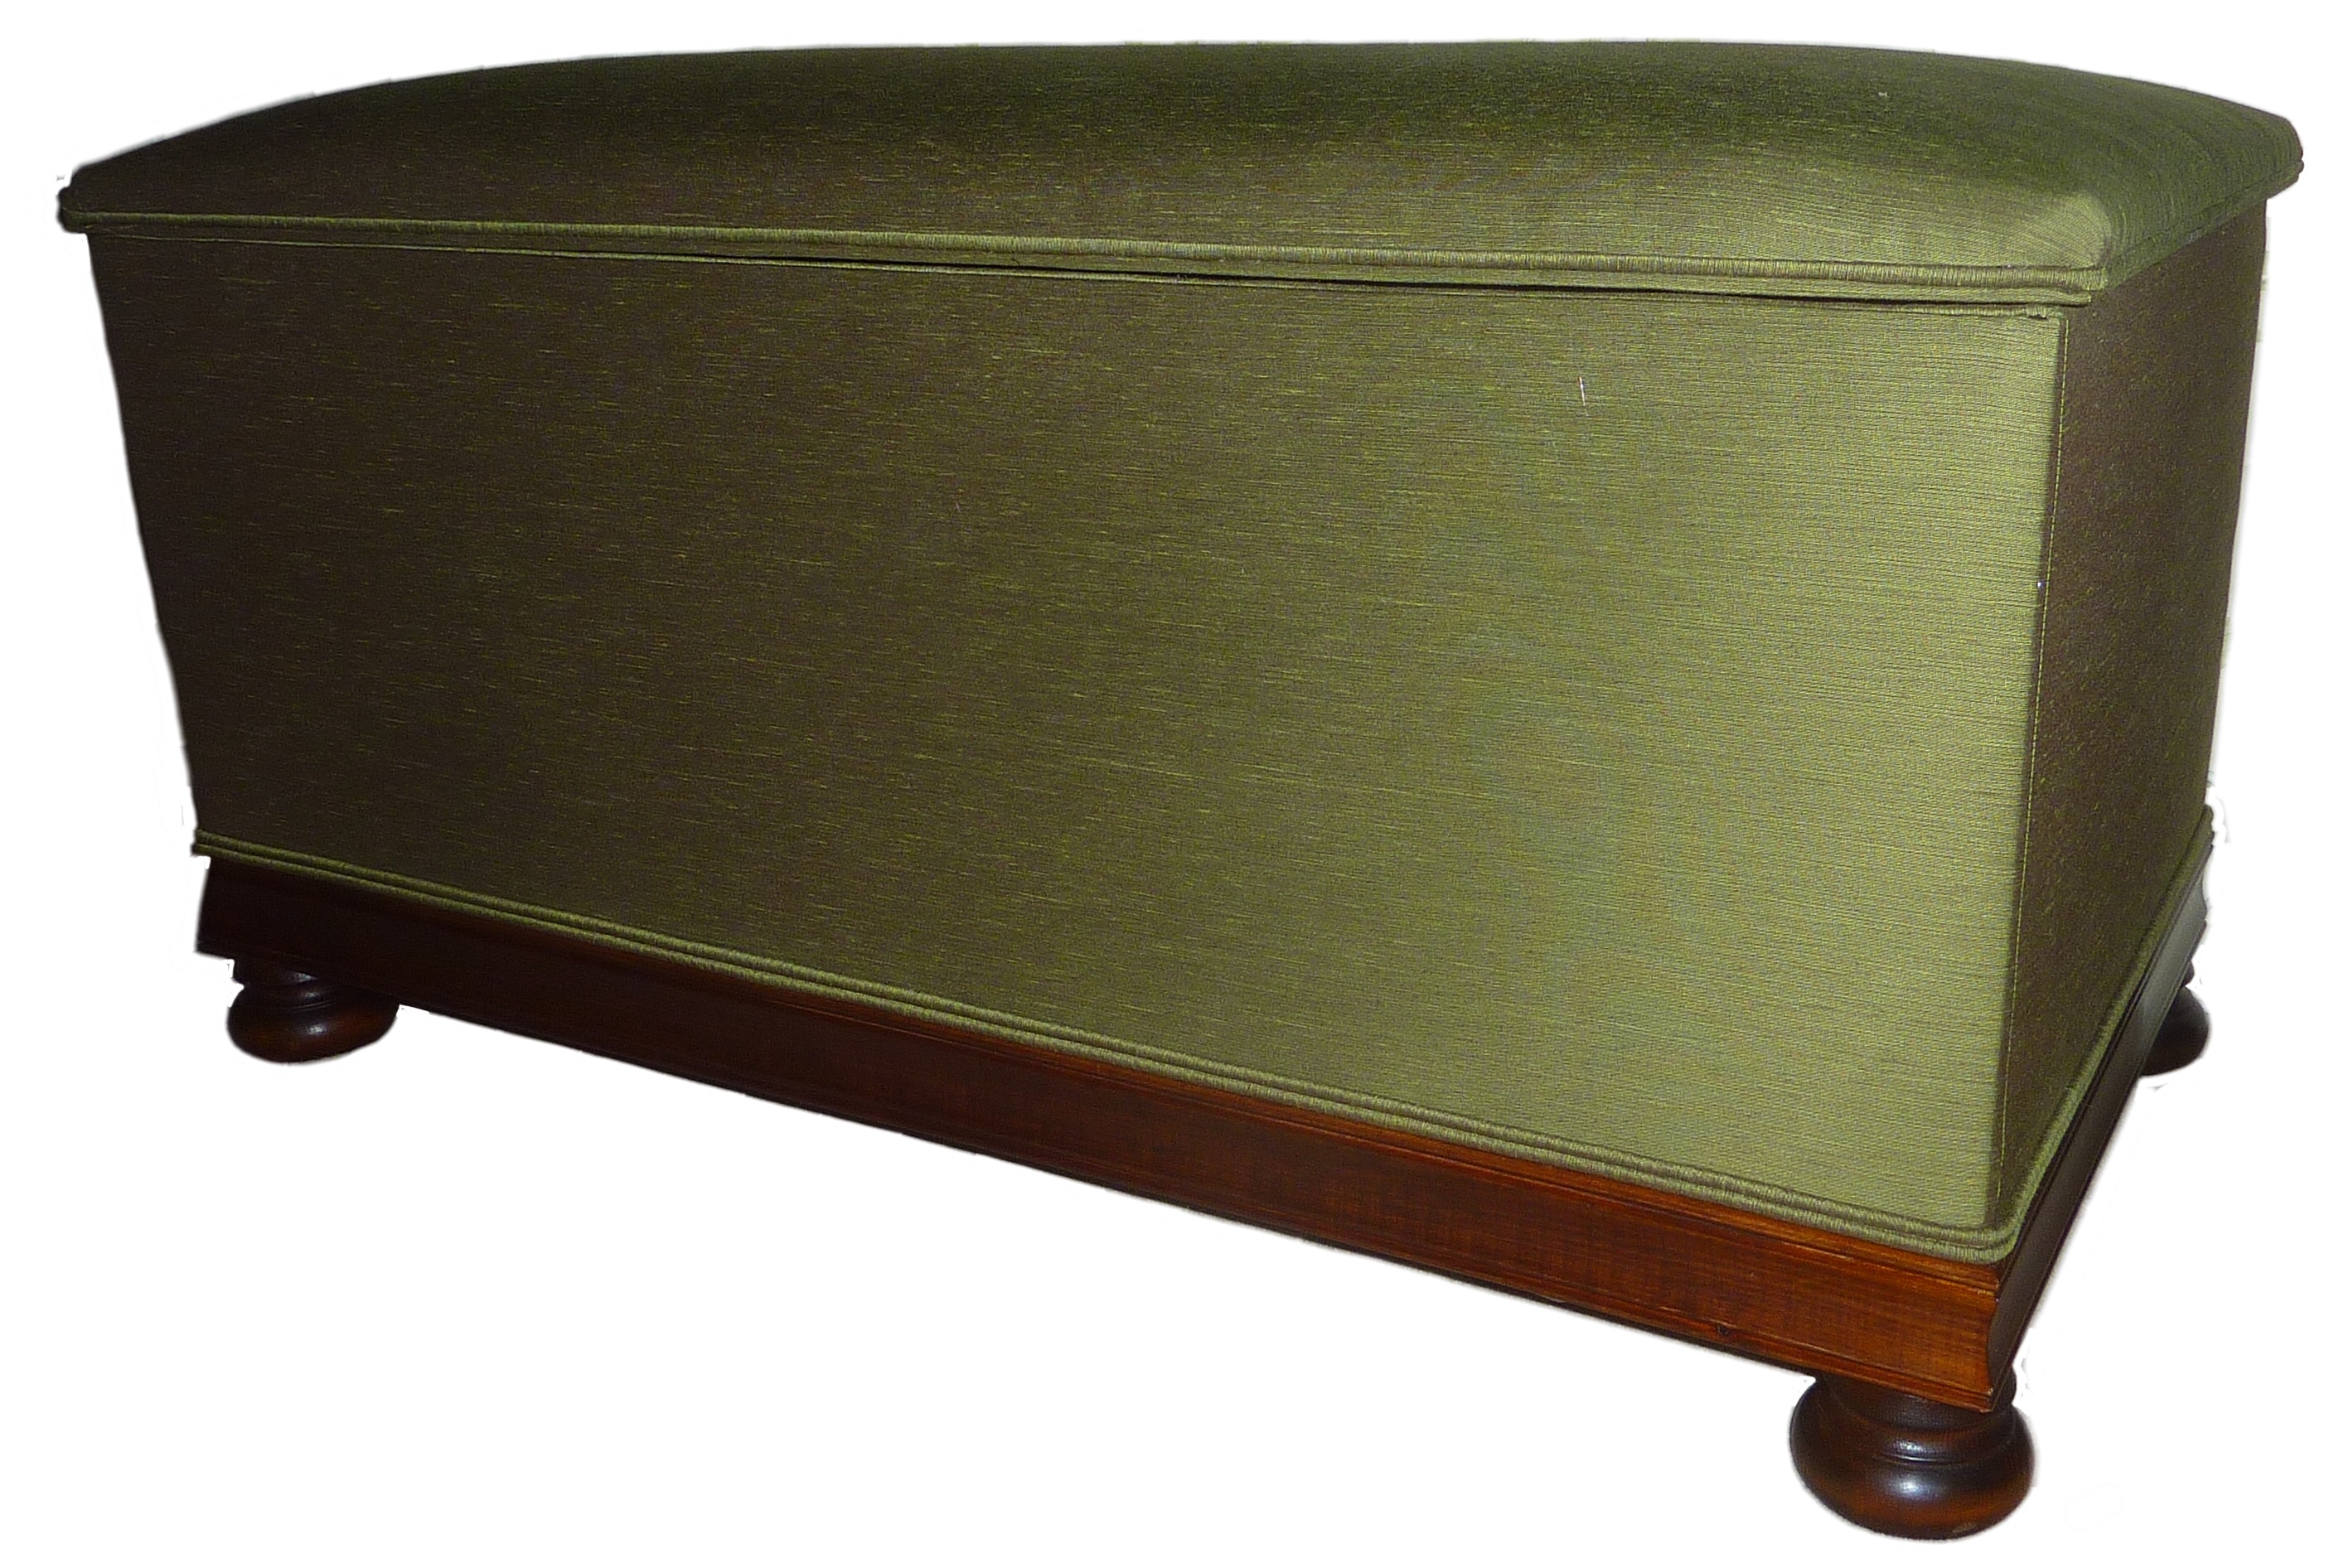
A wood moulding was stained, glued on, then French polished.
A hessian undercloth was tacked on and bun feet, finished in the same way as the moulding, was attached with dowels and glue, with the hessian removed from under the feet. The feet were lined up with the edges of the ottoman.
Four pieces of material were cut to fit the outside with a small surplus, pinned on with seams marked. These were machine sewn together – making a sleeve the same size as the box.
This “sleeve” was eased over the top and slid down into position over a layer of glued on polyester.
This was stapled on just above the trim and into the groove at the tops of the panels. The corners were tidied up and excess material trimmed off.
A profile was used to edge the panel, the inner spac filled with a layer of felt, topped with rubberised hair. A material strip was glued around the edge to form a gently curved edge. A polyester layer was then added and covered in the finishing fabric. This was stapled into the edge groove and trimmed.
Single piping was held down into the grooves of the sides and lid with hot glue covering the raw edges of the fabric. The ends were butted together and covered in a small piece of fabric.
Double piping was used as trim above the wood moulding, covering the staples, also with covered ends.
A length of piano hinge was first screwed to the back edge of the top and then attached to the top edge of the back panel.
Finally time to put the Ottoman in place and fill with stuff!
If you are interested in a Storage Option, whether an Ottoman or Toy Box, then please contact JBerryUpholstery.
JBerryUpholstery has many examples of furniture Recovering and Restoration and also Soft Furnishings to add to or complement the finished items. You can see pictures of these in the Galleries – Recovering Gallery, Restoration Gallery, Soft Furnishings Gallery and Transformations.
If you have some upholstery that is in need of a bit of TLC or you are interested in Soft Furnishings then please contact us.
