

Here is a brief description of how throw cushions are constructed. There are as always, several options. These cushions were made in our favourite manner with piping and a zip.
However, clearly the piping is an option and there are alternatives to a zip. See Bench Cushions using hook and loop tape, Tie-on Cushions for top stitching by machine. Alternatively, one side can be slip stitched closed.
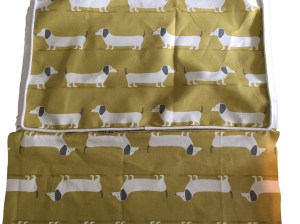
This cover was made of commercially available fabric. However, any piece of fabric could be used as the front cover and the back fabric can be same or entirely different.

White piping was made up and sewn to the fabric that was to make the front of the cover. The join in the piping was put on the bottom edge to be less noticeable.
A length of zip, a little shorter than the cushion was wide, was added along the bottom side.
The back of the cushion was sewn on for 2” on either side – between the zip and the piping.
The other side of the zip was then sewn to the fabric for the back of the cushion.
With the front folded over the back, the other three sides were sewn on, following the first line of stitching.
The zip was pulled apart and the cover turned right side out. The corners were pushed out before the slightly oversized pad was inserted.
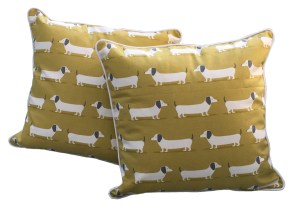
Two more cushions to sit on!
Before you go, it helps to remember that any fabric can be used. Contact JBerryUpholstery if you would like to have cushions made to your specifications to match your home decor.
JBerryUpholstery has many examples of furniture Recovering and Restoration and also Soft Furnishings to add to or complement the finished items. You can see pictures of these in the Galleries – Recovering Gallery, Restoration Gallery, Soft Furnishings Gallery and Transformations.
If you have some upholstery that is in need of a bit of TLC or you are interested in Soft Furnishings then please contact us.
