

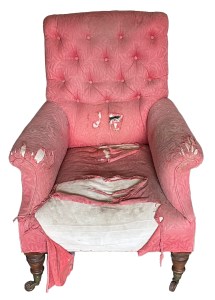
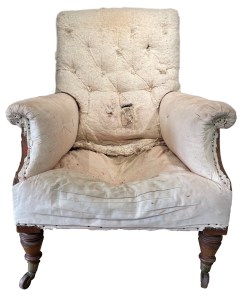
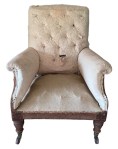
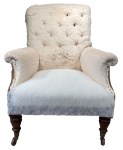
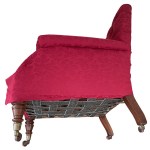
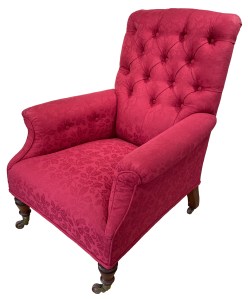
This armchair was in need of a new cover – and lots of other things!
The biggest problem was that the front rolled edge had collapsed and the seat felt curiously soft. The pleats on the deep buttoned back had gone but otherwise the stuffings of the back and arms seemed OK. And the frame was in great shape.
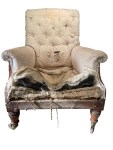
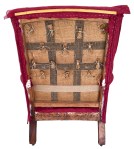
With the chair on it’s back, the remnants of the undercloth were removed along with all the tacks holding the cover fabric and the old, sagging webbing.
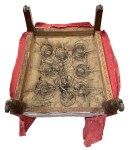
The laid cord that should have held the springs, had broken – leaving a tangle of springs and accounting for the soft seat.
Piping edged the arm fronts and back, with traces left above one leg suggesting the base was surrounded with double piping. This same pattern was followed with the new cover.
The piping, fabric layers and fixings of the back were removed.
The arm fronts were removed, allowing the outer arms to be taken off.
The pattern of buttons on the back was noted, the ties cut and the inner back fabric removed.
The buttons on the inner arms were removed and then the fabric.
Finally the seat fabric was removed.
With ripping off complete, the seat could be replaced.
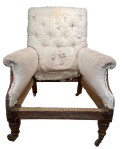
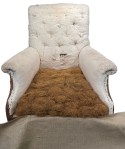
The stuffings of the seat were freed revealing the original but crushed rolled edge.
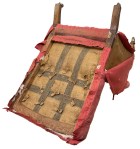
The stuffings, underlying hessian layer and springs were all removed.
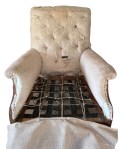
New webbing was added, the springs attached and tied in place with laid cord.
Hessian was added over them, attached to all sides and the tops of the springs tied to it.

Just the right amount of coir for the rolled edge was added over the spring hessian. This was then covered in just the right amount of hessian. These are careful judgements!
A new rolled edge – same height as the original of 9cm – was stitched at the front.
Through ties were made to compress the hessian and flatten the top of the seat.
Hair was added over the hessian with extra over the dips created by the through ties and the channel behind the rolled edge.
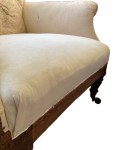

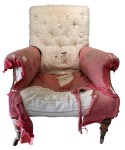
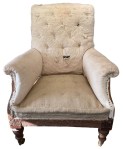
The new seat was covered in calico to leave a vertical front to the chair once again.

Before the new cover was added, some extra support was added behind the lumbar area and the seat covered in polyester wadding.
The seat fabric was added but not finished at the front.
Button positions were marked on the back allowing 4cm to form the pleats.
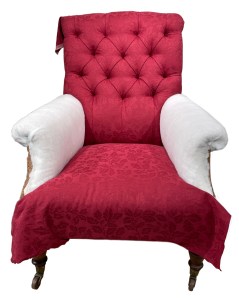
The button positions were held in with nylon buttoning twine and the pleats folded into place. Nice!
Then the buttons were added in the same positions with more nylon twine. Even nicer!
Polyester wadding was added over the arms and fabric placed over it. Once positioned, the fabric was pulled to the back and fixed in place to the back, to the side and down – a total of six places for each arm – to obtain the final shaping.
The fabric was fixed under the frame at the bottom.
At the front, mirrored pleats were made around the arm roll.
Two buttons were added to the inside of each arm.
With the arm fabric in place, the seat fabric was folded and secured over the bottom edge of the arm fabric.
For the outside arms, the fabric was attached with back tack strip under the arms before being pulled down and secured over support hessian and polyester wadding layers.
The outside back had piping stapled on around all sides before fabric was added to the top secured with back tack strip.
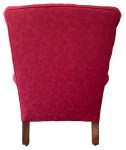
Supporting hessian and wadding was added, before the cover fabric was pulled down and hand sewn in place to the sides.

The bottom edge was stapled under the frame and cut in around the legs.
New fabric was wrapped around the original arm fronts and piping sewn to the edge with the ends left hanging free.
The arm fronts were pinned into place then the piping was stapled to the side of the arm frame and hand sewn to the arm rolls.
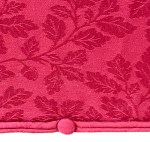

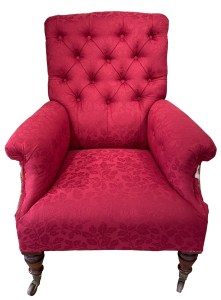
Double piping was added around the base of the chair, the join at the back covered with a button.
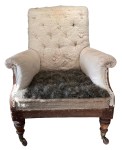
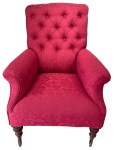
The final step was to add a new undercloth.
All done and the chair could be returned to the owner.


JBerryUpholstery has many examples of furniture Recovering and Restoration and also Soft Furnishings to add to or complement the finished items. You can see pictures of these in the Galleries– Recovering Gallery, Restoration Gallery, Soft Furnishings Gallery and Transformations.
If you have some upholstery that is in need of a bit of TLC or you are interested in Soft Furnishings then please contact us.
