


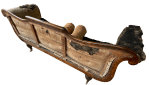
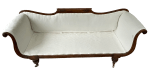
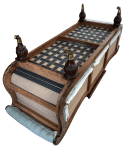
This splendid Regency sofa needed a new cover plus the upholstery restored – the frame was in excellent condition.
In addition to the sofa itself, the seat cushion and two bolsters also needed significant work before the new cover could be added.
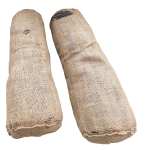
On receiving the sofa, an inspection was made. The two bolsters were included – although their covers were very worn.
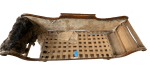
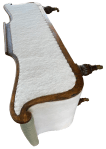
The back was worn out – the hessian support had holes and had lost its strength.

The seat pad of hair had not only lost its cover but also all of the stabilising through ties that would have held it together.
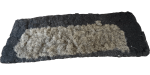
The loose bundle was very carefully slid off of the sofa and onto a work table. Additional hair was added to the more compressed areas.

A new hessian cover was made to the finished size, wrapped around the pad while it lay on the table. Once sewn together, new lines of through ties were added.
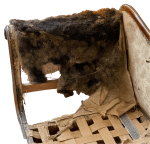
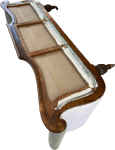
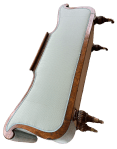
With the cushion pad removed, the poor condition of the arms was very apparent. The seat pad had been resting directly onto webbing.
The remaining upholstery of one arm and the back was removed.
The other arm was then cleaned up and the old webbing removed.
Finally the undercover was removed.

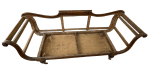
The frame was tidied up, cleaning off any remaining tacks, gimp pins and some staples leaving the frame ready for new upholstery.

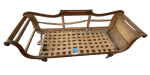
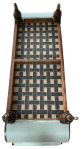
The frame had new webbing added to the entire seat and also across the curving sofa arms. The lower pieces will add additional support to the seat cushion, the upper pieces will help retain the curving shape of the arms.
Support hessian was added over the seat and arm webbing.

Hair was secured over the support hessian on arms and back. This was covered in a barrier cloth.
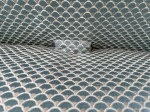
More barrier cloth was added directly over the support hessian of the seat.

With the internal shaping complete, the seat cushion and bolsters were checked for size.
The seat pad had a barrier cloth added before the new piped cover was made.
The bolsters had some new hair added at the ends to regain their original shape and new covers were made.

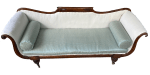
The finished pieces were placed on the sofa and fitted well.
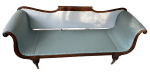
The cover fabric was added to the seat, over the inner arms and then to the inner back.
The two pieces of frame at the bottom were carefully covered – although they will be covered by the seat cushion anyway when the seat is in use.

With the sofa upside down, webbing was added to the outside curves of the arms to ensure a smooth curve to the finished sofa. Support hessian was added over the webbing and covered in barrier cloth.
With the sofa on it’s side, support hessian and then barrier cloth was added.
Cover fabric was attached to the outside arms.
Cover fabric was then added to the outside back. Double piping was added around the outside, with a button covering the ends.

Piping was also added around the arms and across the seat front. The piping continued around the outer arms finishing under the seat.
More piping was added across the back, the ends tucked through to the back.
The last piece to be added was the undercloth which also concealed the ends of the pieces of piping.

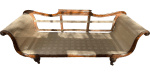
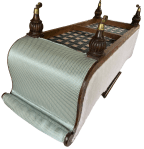
The seat cushion and bolsters were placed on the finished sofa.
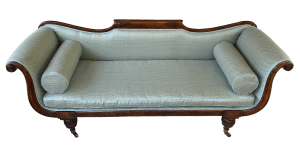
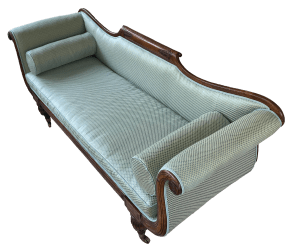
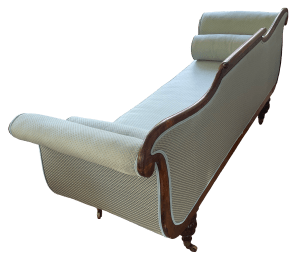
The Regency sofa was couriered to the owner.
JBerryUpholstery has many examples of furniture Recovering and Restoration and also Soft Furnishings to add to or complement the finished items. You can see pictures of these in the Galleries – Recovering Gallery, Restoration Gallery, Soft Furnishings Gallery and Transformations.
If you have some upholstery that is in need of a bit of TLC or you are interested in Soft Furnishings then please contact us.
