

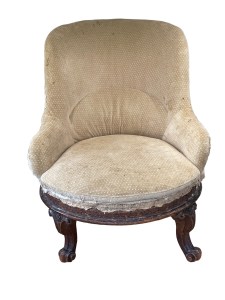
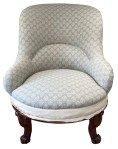
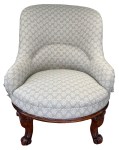
This was a very interesting recovering project on a great example of an ironback including the replacement of hessian under layers and other restoration work.

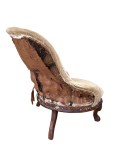
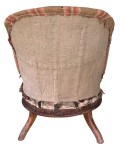
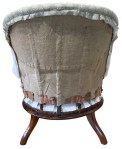
At the back, the cover fabric had been removed, revealing a rotten hessian support layer – it would seem an original piece from Victorian times.
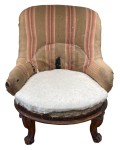
One front leg had fallen off, the other wobbly. The polish work was in poor shape and the back legs had suffered (old) wood worm damage.
Plenty to do!
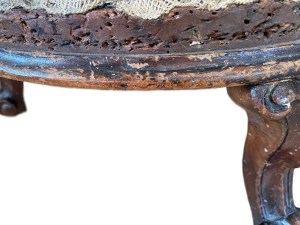
The old French polish had lost it’s sheen and had cracked and in some places had worn away leaving bare wood. Restoration has to be done sensitively, so that the chair still shows it’s age but with a bit of shine.
The old dull polish on the front legs was removed – ready for staining and polishing.
The back legs had black stains. That polish was cleaned off only to reveal old worm holes.
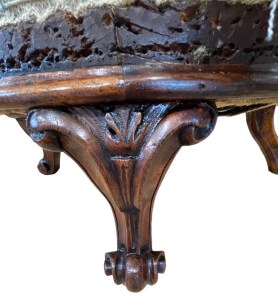
The holes were filled, stained and polished.
Show wood around the base was also cleaned up – removing the cracked and damaged polish – stained and re-polished before the front legs were replaced to complete the work.
With the polish work in good shape, the upholstery work could begin by removing the remaining old cover.

The front cover was freed around the edges although still held with thread in the centre.
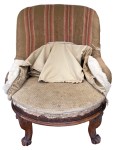
The rest of the front cover and attached arm covers were freed and pulled forward.
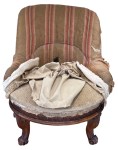
The undercover, which will be retained, was also freed to reveal the hair stuffings.
The undercover now needed to be secured again to the sides but that required new back hessian.
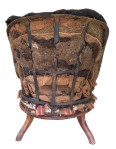
With the old hessian removed, all the iron frame could now be seen.
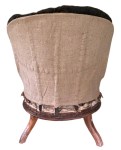
New hessian was added, secured to the frame by sewing around the frame edges and the internal frame members.
The old undercover could now be secured again, this time to the new hessian.

New undercovers were needed before the cover fabric could be added.


The old seat cover was removed, leaving a calico underlayer.
Woolsafe was added over the inner cover, first to the back and then the arms.
FR polyester wadding was added to the back and arms and then the seat.
The new cover could now be added to the inner back, arms and seat.

The inner back and arm pieces were first sewn together. Then a piece of calico was sewn along the attachment line.
The combined piece was attached to the back – sewing through to the back, anchoring the twine to the hessian at the back and the calico strip at the front. The fabric was pinned around the edges, cut and pulled to the back along the bottom edge.
The seat fabric was added, sewn to front and sides and cut and also pulled through to the back.

The back was tidied up and the inner cover secured to it. The fabric of back and seat was secured to the seat fame.

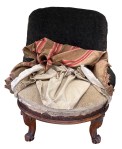
The back was then covered in another sheet of hessian. This will support the outer back fabric when it is added.
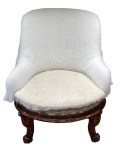
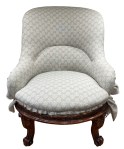
A completely new seat front was added – this included stuffings as the original had disappeared without trace!

Calico was attached under the roll which was pulled back and wadding added.
The calico was then pulled down and secured just above the show wood and trimmed.

FR polyester wadding was attached before the cover fabric was added – sewn at the top edge, stapled at the bottom and to the new back support hessian at the sides.

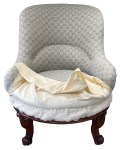
There are no raw edges of fabric under this Victorian Ironback, so the under cloth could be added anytime after the polish work was repaired – but this was the moment chosen!
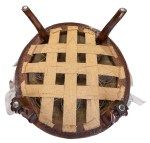
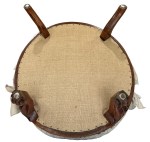
The old one – shown here before the front legs were reattached – was damaged with glue from the old repair work.
The old hessian was removed and new hessian added over the existing webbing.

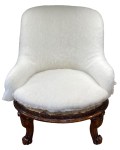
Only a new cover for the outer back is required to complete this delightful project.
The back was now finished – FR polyester wadding under the cover fabric.
The fabric was hand sewn around the frame, finishing with the join to the sides of the seat front.
To finish the recovering, double piping was added along the line of the show wood with a wrapped join at the back.
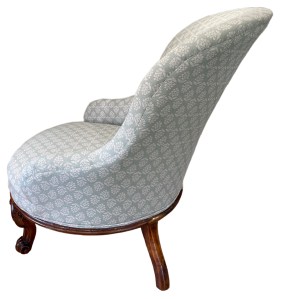
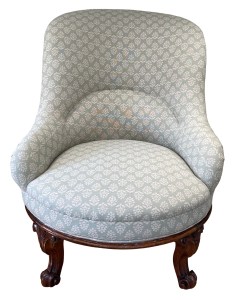
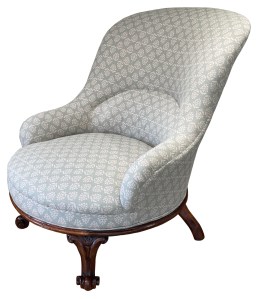
The completed and now usable chair was returned to it’s owner.
JBerryUpholstery has many examples of furniture Recovering and Restoration and also Soft Furnishings to add to or complement the finished items. You can see pictures of these in the Galleries– Recovering Gallery, Restoration Gallery, Soft Furnishings Gallery and Transformations.
If you have some upholstery that is in need of a bit of TLC or you are interested in Soft Furnishings then please contact us.
