

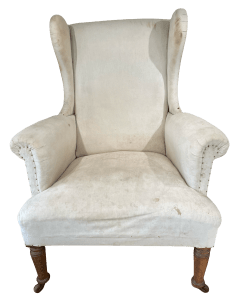
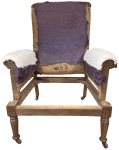
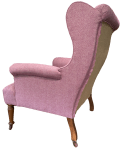
This Winged Chair had only a rather dirty calico undercover, held in place with rusty tacks, a sagging seat and wobbly wings. Plenty to do to return the chair to usefulness. And the wings held a little surprise!

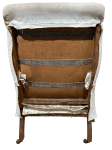
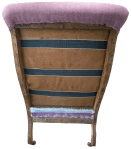
The chair was turned on its back and the undercover removed to expose sagging webbing.
With the chair upright, the calico back cover was removed. The old webbing was loose – that will need replacing later.

With the chair turned, the fabric covering the outer wing and arm was removed.

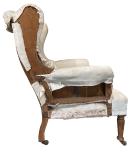
It was seen that the fabric of the inner arm and back was pinned in place by the wings.

On closer inspection, the solution was to actually remove the wings. Surprise! They were held on with large screws. They were put to one side.

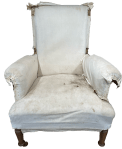
The fabric covering the inner arms, back and seat was removed.

The opportunity was taken to replace the old webbing across the back with new, which pushed the back stuffings forward to where they should be.
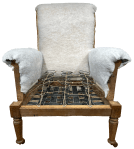
Examination confirmed the seat would need replacement – and all the stuffings, fabric and springs were removed.


To rebuild the seat, webbing was added, new springs attached to the webbing and then to each other with laid cord.
A hessian spring cover was added, then coir which was covered and sewn to make a rolled edge.

Hair was added, covered in calico, then a barrier cloth – also added over inner back and arms. Then the final cover was added to the seat.
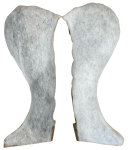
The wings were made from planks of wood which, with use over time had broken. The breaks were cleaned and glued.
Some new padding was added to the wings and each covered in barrier cloth before the cover fabric was added.

Cover fabric was added over the inner arms and inner back. Thought was made to keep stuffings and barrier cloth off of the areas the wings would press against when attached.

The wings were now reattached. The shaping allowed fabric to pass behind much of the back with a section at the very top and bottom needing a tight fit to the frame. The front of the wing was held in place with a nail acting as a pin – simple.

Piping was added under the back roll, around the edges of the wings, finishing behind the arm rolls.
Support cloth was added under the arm and barrier cloth over wing and arm.
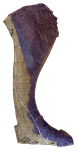
New arm fronts were made up, edged with piping and sewn to the arms.
The outside wings and arms were covered in single pieces of fabric.


At the back, the new webbing was covered in support cloth. Back tack strip was added under the back roll holding the cover fabric and barrier cloth.


Each piece of fabric was pulled to the back and secured – the barrier cloth stapled and the cover fabric slip stitched.
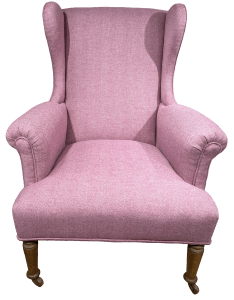
A new undercloth was added and, rather belatedly, the castors were cleaned and the legs wax polished to finish the project.

JBerryUpholstery has many examples of furniture Recovering and Restoration and also Soft Furnishings to add to or complement the finished items. You can see pictures of these in the Galleries – Recovering Gallery, Restoration Gallery, Soft Furnishings Gallery and Transformations.

If you have some upholstery that is in need of a bit of TLC or you are interested in Soft Furnishings then please contact us.
