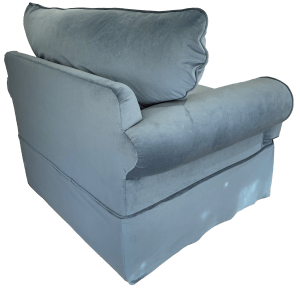
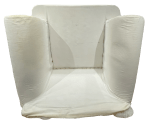
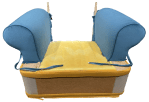
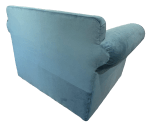
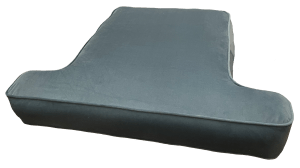
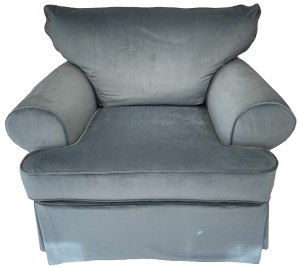
This very large, modern armchair needed a new cover along with the two loose cushions – for back and seat.
The existing loose cover will be replaced with a fixed cover. To comply with fire safety legislation all areas will have a barrier cloth added too.

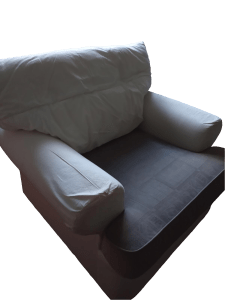
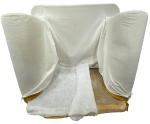
In practice there were some interesting challenges. Solved by partly deconstructing the chair!
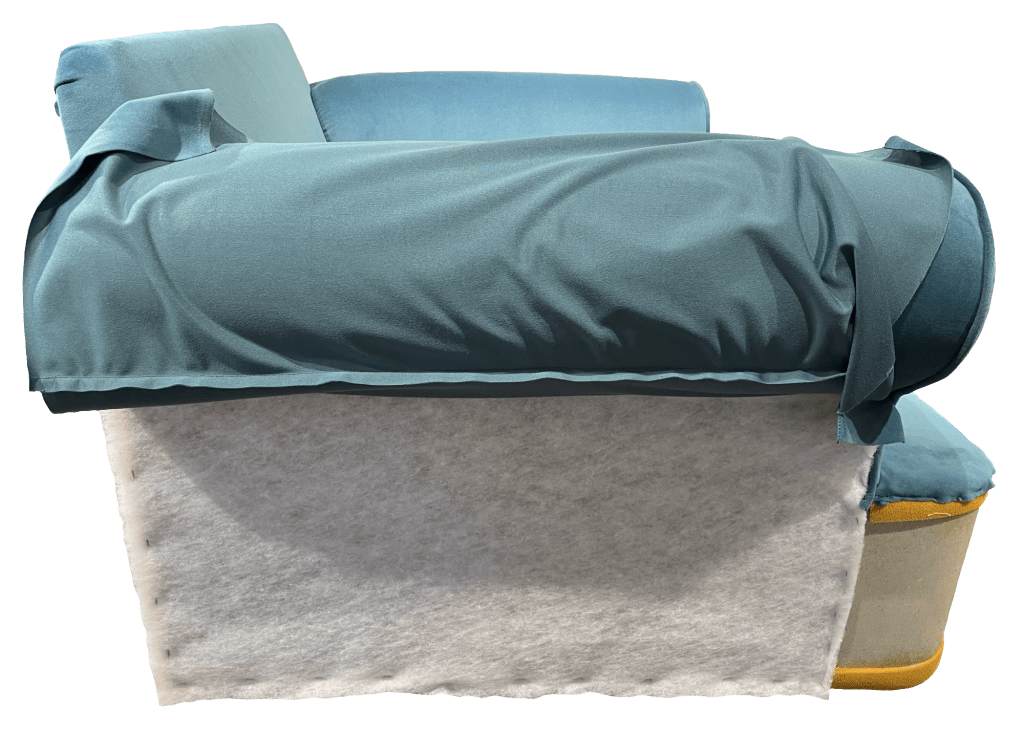
The top cover was removed as well as the seat and back cushions.
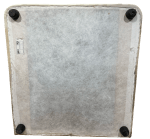

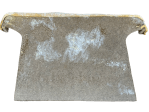
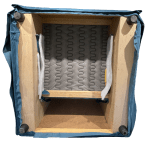
The first step for the seat was to remove the bottom cloth, so as to gain access to the insides of the chair.
The fixings around the edges of the base for the cover were removed.
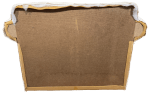
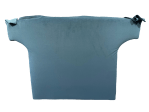
The cover was removed from the back leaving a hardboard cover. The hardboard was removed.
With the chair on its back, the calico on the inner back was removed followed by the polyester wadding.
The hardboard under that was also taken off.

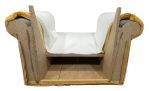
The fixings of the calico cover were removed from inside the frame under the seat, from under the arms and around the front.
The remainder of the cover was removed leaving the chair ready to receive its new cover.

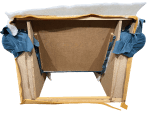
Barrier cloth was added over the arms – it will be added under all fabric to ensure compliance with current fire safety legislation.
Fabric for the arms and arm fronts, including a piped edge was prepared, pulled over the arms and secured.

A fabric cover for the seat was added, secured inside the frame on the sides under the seat and to front and back.
The inner piece of the back frame was trimmed to allow it to be used with fixed, rather than loose covers. Stiffening pieces were added to the sides.
Barrier cloth was added, followed by the cover fabric.
The covered panel was then slid down into position and secured.

The outer back panel was replaced and the fabric of the inner back pulled over the top and secured to the back.
Fabric, then back tack strip, were attached under the arms. Barrier cloth was added to cover the sides.

The fabric was then pulled down and fixed in place on all sides.

Fabric was added to the back, first attached at the top under back tack strip, then sewn to the sides and stapled under the base.

The front was the final section covered in fabric.

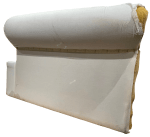
The thin panels were not substantial enough to fix fabric too except where there was underlying frame wood. With limited fabric available, the pieces for the sides and back had extensions added at the bottom. This allowed the bottom to be pulled down when fixed in place, keeping the fabric taut. The seam for the sides and back and the staples of the front piece would all be hidden under the skirt.

The skirt was made up with folds to the front corners and seams on the back corners, topped with piping. This was hand stitched around all sides.
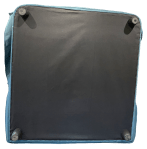
The chair was tipped on it’s back and an undercloth added. The legs were screwed back on to complete the work on the chair.
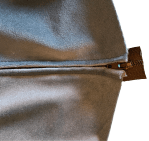
The seat cushion cover was made up – boxed, zipped and piped. The original pad was pushed into it.
The back cushion was made from two pieces of fabric. These were shaped to fit with squares cut out from the bottom corners.
First, short sections of elastic were stretched and sewn into the top corner positions. These pulled in the fabric enhancing the shaping.
Piping was added to the outer edge of one of the pieces – stopping at the cut out bottom corners.

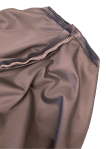
A zip was added along what would be the bottom edge – joining the two pieces.
With good faces together, the second side was attached to the piped side. The edge of the piping was overlocked.

The open square corners were pulled apart into a straight line, clipped, then sewn.
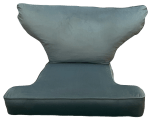
The zip was pulled apart and the pad inserted to complete the back cushion.
With the cushions in place, the chair was returned to the owner.
JBerryUpholstery has many examples of furniture Recovering and Restoration and also Soft Furnishings to add to or complement the finished items. You can see pictures of these in the Galleries – Recovering Gallery, Restoration Gallery, Soft Furnishings Gallery and Transformations.
If you have some upholstery that is in need of a bit of TLC or you are interested in Soft Furnishings then please contact us.