


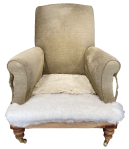
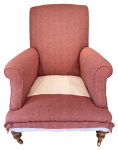
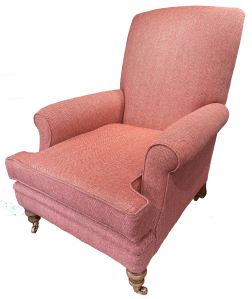
This modern armchair needed a new cover. Modern construction methods mean that adding a new cover has to be achieved in a different way to the original – not too much difference for this chair.
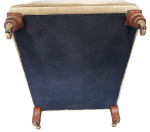
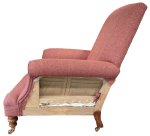
With the chair on its back, the undercloth was removed along with the fixings for the cover fabric.
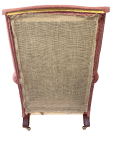
The back fabric was held at the sides with metal back tack strip and card back tack strip across the top.

The piping was removed – held with staples.

The sides came off next – held at the front with the flexible metal back tack strip and under the arm with inflexible card back tack strip.

The seat fabric was in in two pieces, sewn together. A further piece was used for the seat front.
The inner back fabric was then removed.
The final pieces were the inner arms and they were taken off.

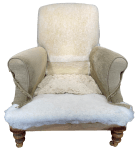
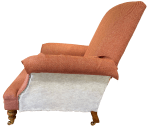
The new cover could now be added, starting with the seat.
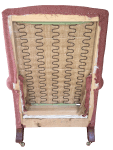
The chair construction method meant the staples for the arm and seat fabric had actually been deep within slots at the sides of the chair. So while they could be removed, the new fixings had to be at the accessible outer edge.
The arms – with arm fronts and piping already sewn on were then added. Again the repositioned means of fixing to the side. The arm fronts were secured at the bottom of the arms with the seat fabric folded out of the way.

The inner back was attached next, with the seat finished at the front corners.
The seat front was the final piece added to complete the outside.
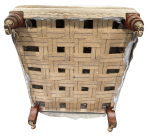
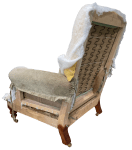
Support fabric and then barrier cloth were added to the sides of the chair – covering the seat and arm fixings.

The covers for the arms were then added using the same fixing type as the original – with the small change to using fibre back tack strip.
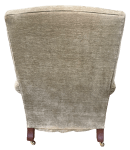
Support cloth was added over the back.
Piping was stapled on around the back.

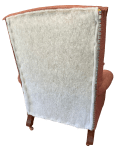
New cover fabric was added and held at the top with fibre back tack strip, then folded to the front.
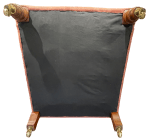
Barrier cloth was added, along with metal back tack strip to the sides, which held the cover fabric in place.
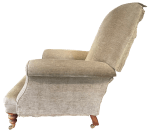
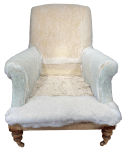
A new bottom cloth was added to complete the new cover.
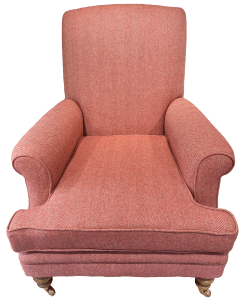

Finally, a new cover was made for the seat cushion to complete the project.
JBerryUpholstery has many examples of furniture Recovering and Restoration and also Soft Furnishings to add to or complement the finished items. You can see pictures of these in the Galleries – Recovering Gallery, Restoration Gallery, Soft Furnishings Gallery and Transformations.
If you have some upholstery that is in need of a bit of TLC or you are interested in Soft Furnishings then please contact us.
