

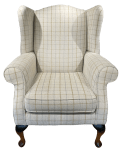
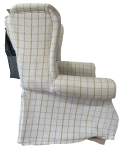
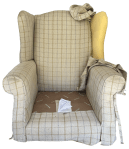
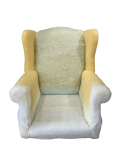
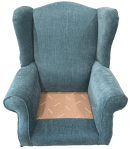
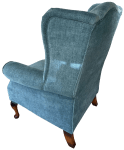
A new cover was wanted for this Parker Knoll Winged Armchair.
As a modern piece, the methods used to attach the cover differ from traditional methods, both in techniques and sequence and will need to be carefully recorded. The stuffings were in great shape – so no need to replace.
The chair was tipped on it’s back and the four legs unscrewed and the undercloth removed.
The chair was turned upright and the back fabric removed along with what looked like piping – but was actually a plastic strip that was stapled through to hold the fabric in place.

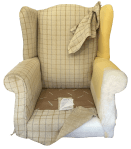
The chair was turned to the side to tackle the outer wings.
The outer arm fabric was held with back tack strip with support fabric behind.

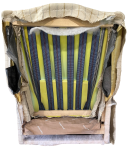
With the wing fabric removed, there was a layer of scrim foam with some support fabric behind.
With the support fabric removed the inner wing and inner arm fabric could be freed – but not taken off!

The arm front was sewn to the inner arm and, with the fixing around the edges and under the seat front removed, off it all came!
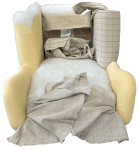
With the seat on it’s back, the fixings at the top by the wing could be freed and that released the inner back fabric and the inner wings.

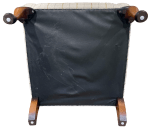
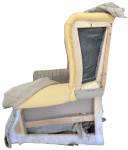
The seat had to be freed at the back to give access to the seat and back fabric fixings.
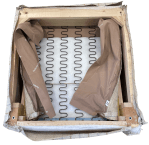
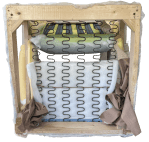
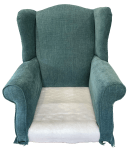
That allowed the last pieces of fabric to be removed. The seat spring cover was pushed back into place – ready for the new cover!

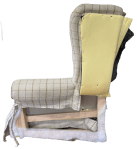
The new cover was actually added in a different sequence to the removal – and started with the inner wings.
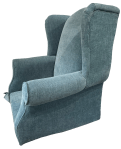
The inner arms were fitted next – with attached arm fronts.
The inner back was added next, fixed at the top and over the wings and arms but left free at the lower back.


The seat cover was attached over the top of the arm fabric, at the back (after which the inner back was secured) and under the frame at the front.
On the outside wing, support fabric, barrier cloth and then piping around the edges were secured. Finally cover fabric was added.

For the outside arms, the sequence was quite different. Here the cover fabric, barrier cloth and support fabric were added under the arm.

These were then pulled down, one a time and secured in place.
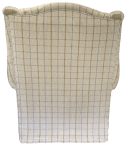
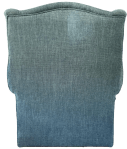
The sequence for the outer back was the same as for the outer wings, with piping added to the entire outside edge.

Finally, the chair was tipped on it’s back, a new undercloth added and the legs reattached.
A new, piped, zipped, shaped box cover was made for the seat cushion and popped into place to complete the project.
JBerryUpholstery has many examples of furniture Recovering and Restoration and also Soft Furnishings to add to or complement the finished items. You can see pictures of these in the Galleries – Recovering Gallery, Restoration Gallery, Soft Furnishings Gallery and Transformations.

If you have some upholstery that is in need of a bit of TLC or you are interested in Soft Furnishings then please contact us.
