


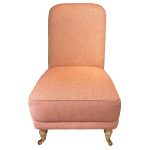
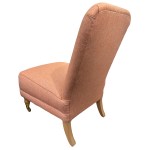
This modern nursing chair had a curiously constructed seat cover. Since the new cover was to be added in the same way as existing, the method needed to be understood! Notes were taken as the cover is removed.
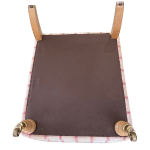
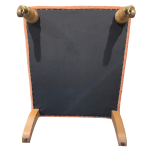
The chair was turned over, the front legs unscrewed and the old under cover removed.
Fixings for the other pieces of fabric that were under the frame were also removed.
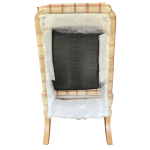
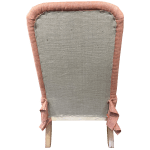
The sides of the back were held with flexible metal strip. That was removed. The top edge was lifted over, back tack and wadding removed, then finally freeing the fabric.
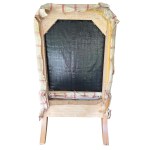
With the back of the chair removed, just the seat remained to be stripped. The fabric on the side and front was divided into two sections – upper and lower, divided by a line of piping.

The fabric running around the lower part of the seat was pulled up and the underlying foam removed.
Backtack strip ran around three sides and with that removed, the fabric with the top edged with piping, could be pulled free.
The lower edge of the fabric covering the upper part of the seat sides was freed of staples. The side fabric, sewn to the fabric of the seat top with piping included in the seam, was taken off.
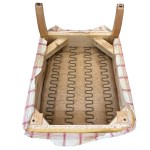
A few more staples – hidden under the foam covering the seat – were removed, freeing the back and completing the stripping of the chair.
With the nursing chair stripped, the new fabric can be added.
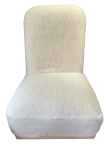
The first piece of new fabric added was the inner back.

The seat fabric was cut out using the old piece as a template. The long piece for the side cover was made up, piping attached and the combined piece sewn to the seat. All of this was then attached to the chair – with front legs temporarily screwed on.
The other long piece covering the lower side of the seat was made up with piping along the upper edge.
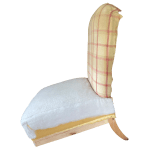
The fabric was attached along it’s upper edge, held with back tack strip and the original foam added over that. The side fabric was then pulled down and attached under the frame.
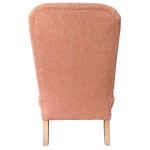

The back was tidied up and support hessian added. That was covered in wadding before the back fabric was sewn on along the top and sides and stapled under the frame.
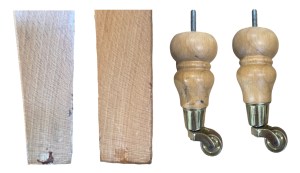
Fine 0000 wire wool and beeswax polish were used to rub down the legs, removing the worst of the scrapes and marks and improving the finish.
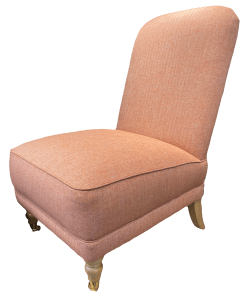
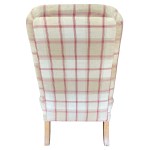
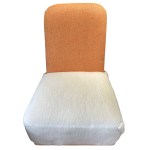
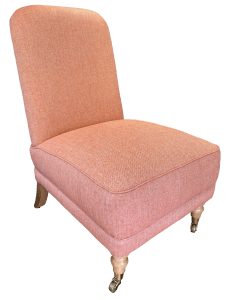
Finally an undercloth was added and the front legs screwed back on to complete the project.
The nursing chair was returned to the owner.
JBerryUpholstery has many examples of furniture Recovering and Restoration and also Soft Furnishings to add to or complement the finished items. You can see pictures of these in the Galleries – Recovering Gallery, Restoration Gallery, Soft Furnishings Gallery and Transformations.
If you have some upholstery that is in need of a bit of TLC or you are interested in Soft Furnishings then please contact us.
