

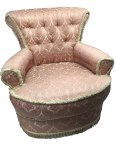
This chair, assumed to be from the second half of the 20th century, needed a new cover. Piping will replace the frilly trim and a fabric skirt will replace the bottom frill.

With the chair upside down, the four shepherd castors were removed along with the undercloth and frill.
The yellow foam seat pad could be seen supported by Pirelli webbing.

Cover fabric and supporting hessian were taken off the back.
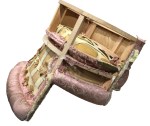
That showed the back stuffings were supported by more Pirelli webbing.
The outer arm fabric was removed. That showed that the seat pad had sunk into the Pirelli webbing – there had to be something wrong!
The front skirt was removed along with the seat fabric and the underlying cotton wadding.
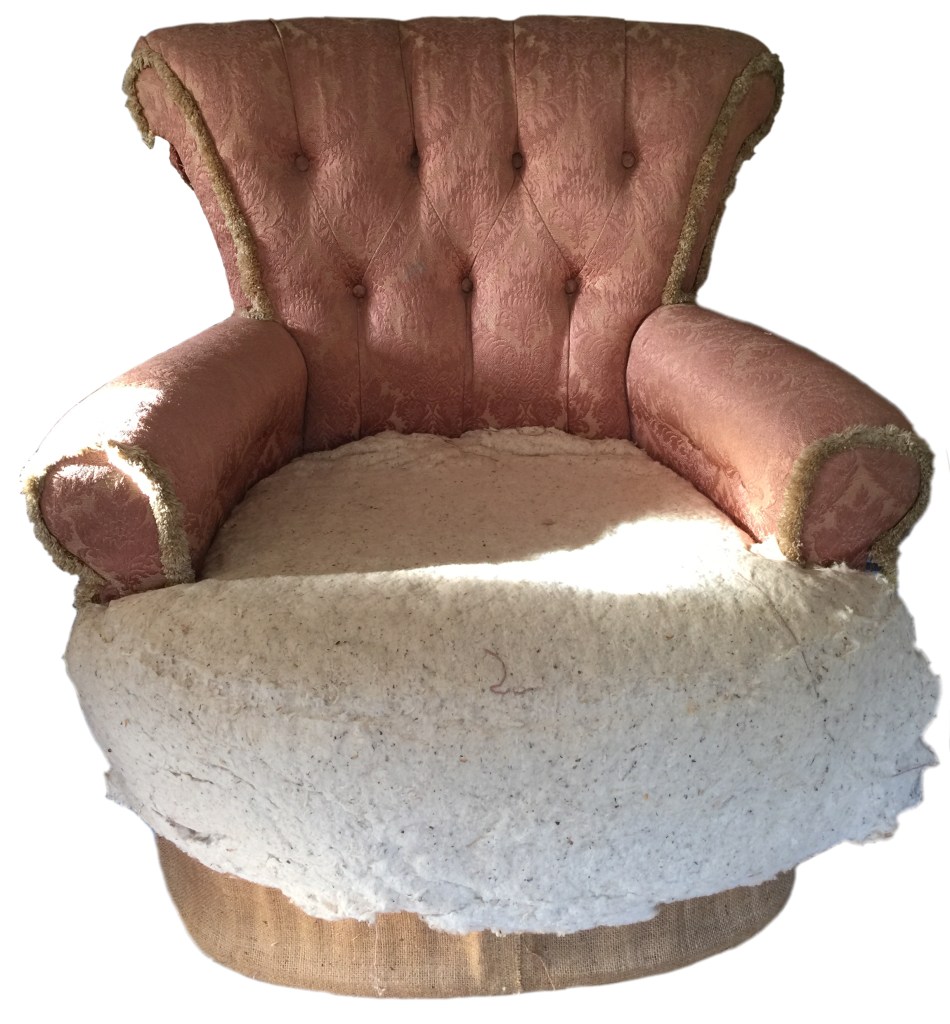
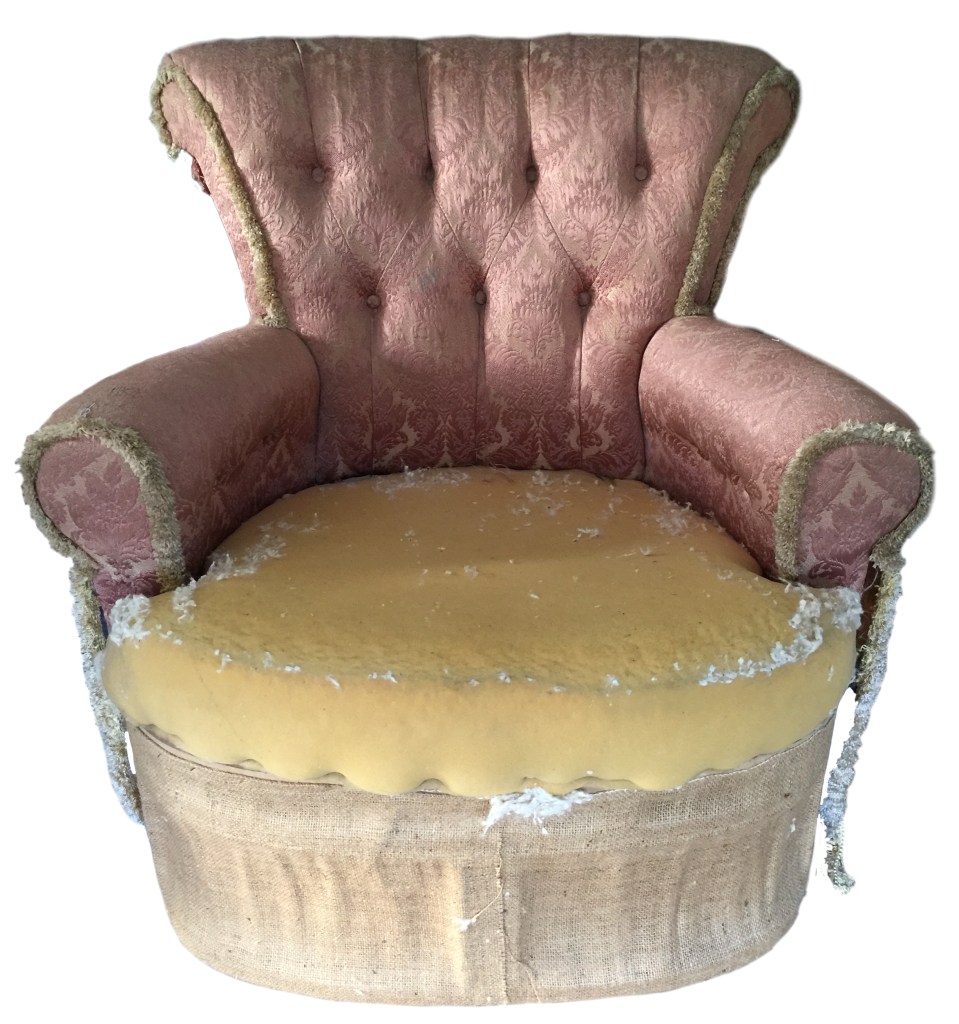

The seat pad was removed and the Pirelli webbing was exposed. Curiously, instead of the webbing being elastic, it was rock solid! OK, so the chair is not new and new webbing was essential.
Another issue was the 4 inch (10cm) sag. With new webbing the seat will be much higher than originally.

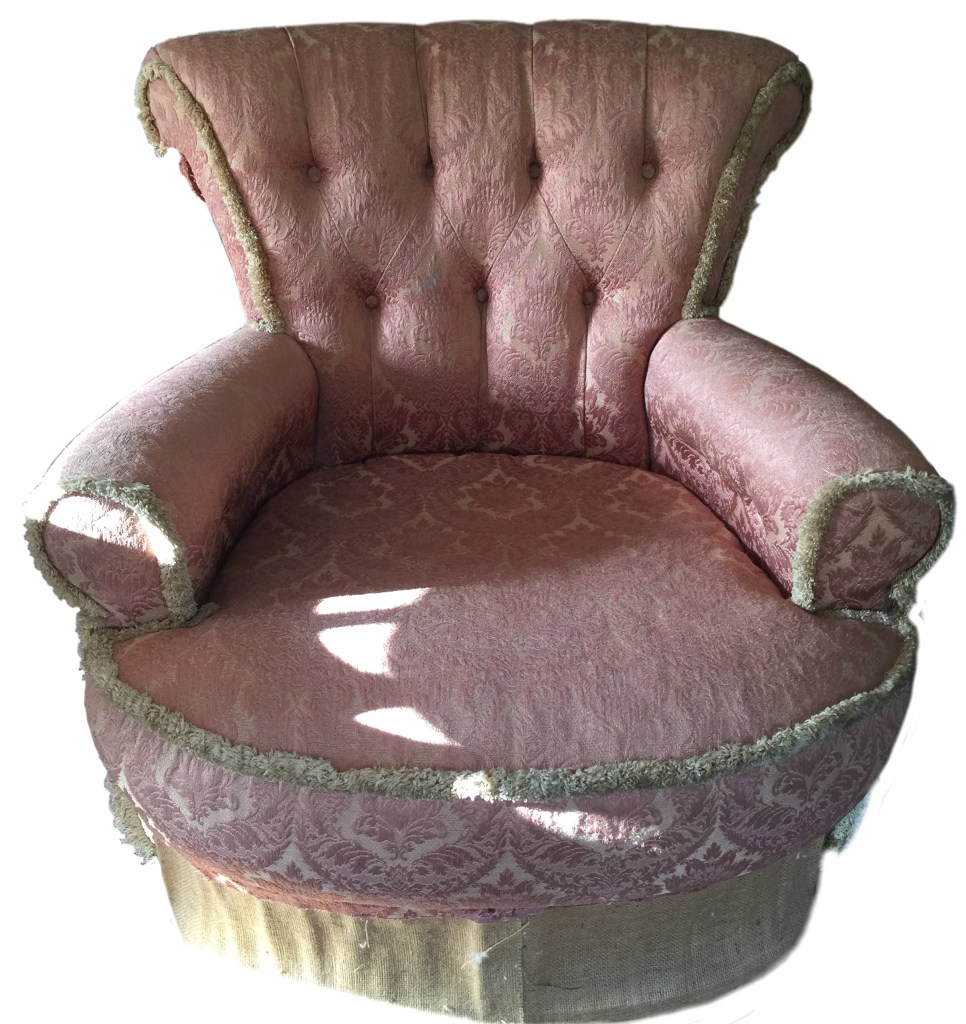
The stitching on the sides of the outer back were removed, as well as the top and bottom fixings. Once freed, the back fabric was removed.
The sides of the back were removed, along with their frill.

The buttons were cut free and the inner back fabric was removed. Old cotton wadding was also pulled off.
Notes were taken on the buttoning arrangement and the machine stitched pleats – essential for the recovering.

The last parts of the old cover removed were the arms. The fixings were removed and the arm covers were pulled off.
So, it’s time to recover!
The Pirelli webbing definitely needs replacing. But that’ll raise the seat height by some 4” – so will the buttons under the arm still be visible?
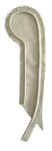
The arm covers were a combination of arm front plus the inner arm fabric. They’ll need replicating.

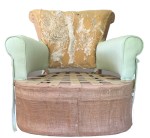
With the chair stripped it was ready to be returned to a usable condition.
First task is to remove the rigid Pirelli webbing and replace with new.
Next, the arm covers. Arm fronts were cut out, piping made up and pieces of fabric that would be the inner arms prepared.
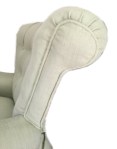
The piping was machine sewn to the arm cover and then the arm front added. Key issues were where to start and stop the sewing! Note the extra piping that will eventually be added down to the base.
The covers were pulled over the arms, secured under and to the sides of the arms, at the back and carefully at the bottom of the front, where the fixings will later be hidden.
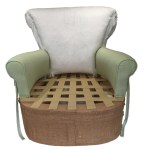
Next, the inner back was tackled. New wadding was added over the back.
The fabric piece for the back had the central pleats sewn in place. Based on the original, a template was used to make 10mm pleats, all of the same length, ending at the button positions.

The fabric was attached behind the top roll – creating real pleats as progress was made. The fabric was then pulled down and attached to the mid frame – again making real pleats.
The seven buttons were added – each placed at the ends of the sewn pleats.
The sides were then cut in around the arms and attached at the sides.
Two buttons were added to each arm – secured to the arm frame on the outside of the arms.
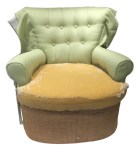
With arms and back in place, work on the seat could start.
The original cushion pad was pushed back into place – several inches higher on the new Pirelli webbing.
The arm buttons were just visible and pulled the arms in, giving the needed space to the seat pad.

Fabric for the seat was cut out and piping added so that it would fit to the seat front, run back in front of the arms, then dive down out of sight to the sides of the seat pad. Hard to describe in detail – but it worked!
To the piping two more pieces were added, separated by more piping, to fit around the front of the seat. This middle seam was needed!
Cotton wadding was added to the seat pad and to the top and bottom sections of seat front.
The whole lot of fabric was carefully positioned. The back and sides were fixed to the frame. The front was fixed to the frame, using that middle seam to hide the fixings.
The lowest part of the seat front was fixed in place under the frame.
The sides were covered in small, shaped pieces of fabric with piping attached, plumped up with wadding underneath.
These were carefully slip stitched on with only the lower part at the back being stapled to the frame.
The pleating of the back fabric was done carefully and mirrored on both sides.

With the seat upside down, supporting hessian, wadding and the cover fabric were added under the arm, finishing with back tack strip.
The three layers were then secured in turn. The front edge of the cover piece was slip stitched to the piping down the side of the seat front, at the top under the roll and down the sides of the am covers.
A new undercloth was tacked on, the shepherd castors fixed back in place and the chair turned upright.
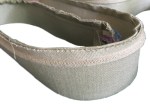

A strip of fabric was folded in half, fusible interfacing placed in the middle and ironed into place. Piping was sewn to the top – the sewing line following the edge of the interfacing.
This was then slip stitched around the bottom of the seat to complete the project.
All done!
This is another of our featured Transformation projects.
JBerryUpholstery has many examples of furniture Recovering and Restoration and also Soft Furnishings to add to or complement the finished items. You can see pictures of these in the Galleries– Recovering Gallery, Restoration Gallery, Soft Furnishings Gallery and Transformations.
If you have some upholstery that is in need of a bit of TLC or you are interested in Soft Furnishings then please contact us.
